Import and export
Move data between Nios and your spreadsheets.
Most Collect data starts in a spreadsheet. You import it, export it again to edit it offline, and import the edited file. Nios shows you what an import will change before it changes anything.
Start from a file
Open Add data with Get started in an empty project, or with the add data button in the toolbar. In the dialog, you import a file and download the template.
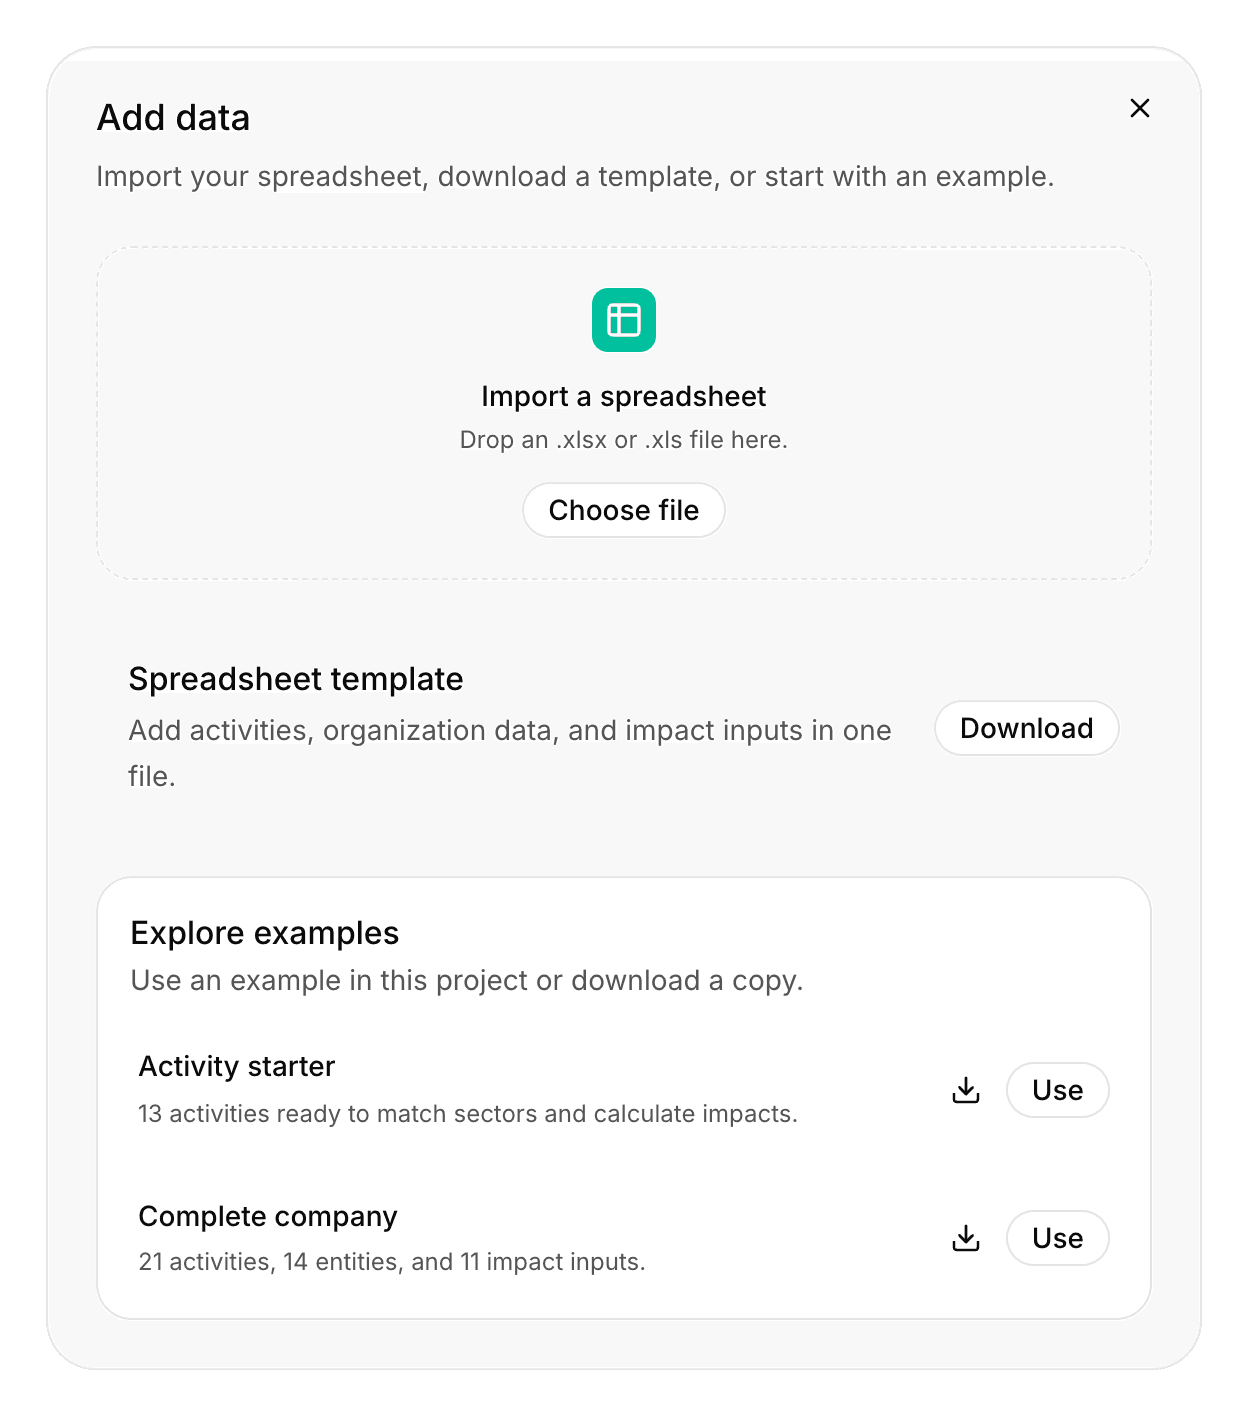
Download the Spreadsheet template to get an empty workbook with dropdowns and instructions for your data. See Spreadsheet template for how to fill it in.
To explore Nios before you prepare your own file, click Use next to an example under Explore examples. Activity starter has 13 activities without base sectors, so nothing is calculated until you click Match. Complete company has 21 activities with base sectors, entities, and impact inputs, and calculates right away. Download next to an example shows you a filled template.
Import a file
Drop an .xlsx or .xls file on Add data, or click Choose file. You can import a filled template, an export from Nios, or your own workbook with the same column headers.
In an empty project, Nios imports the file directly. When the project already has data, Nios first shows you a review.
Review the import
The review shows, for each sheet in the file, how many rows the app has now, how many it will have after the import, and how many rows the import adds, updates, and removes.
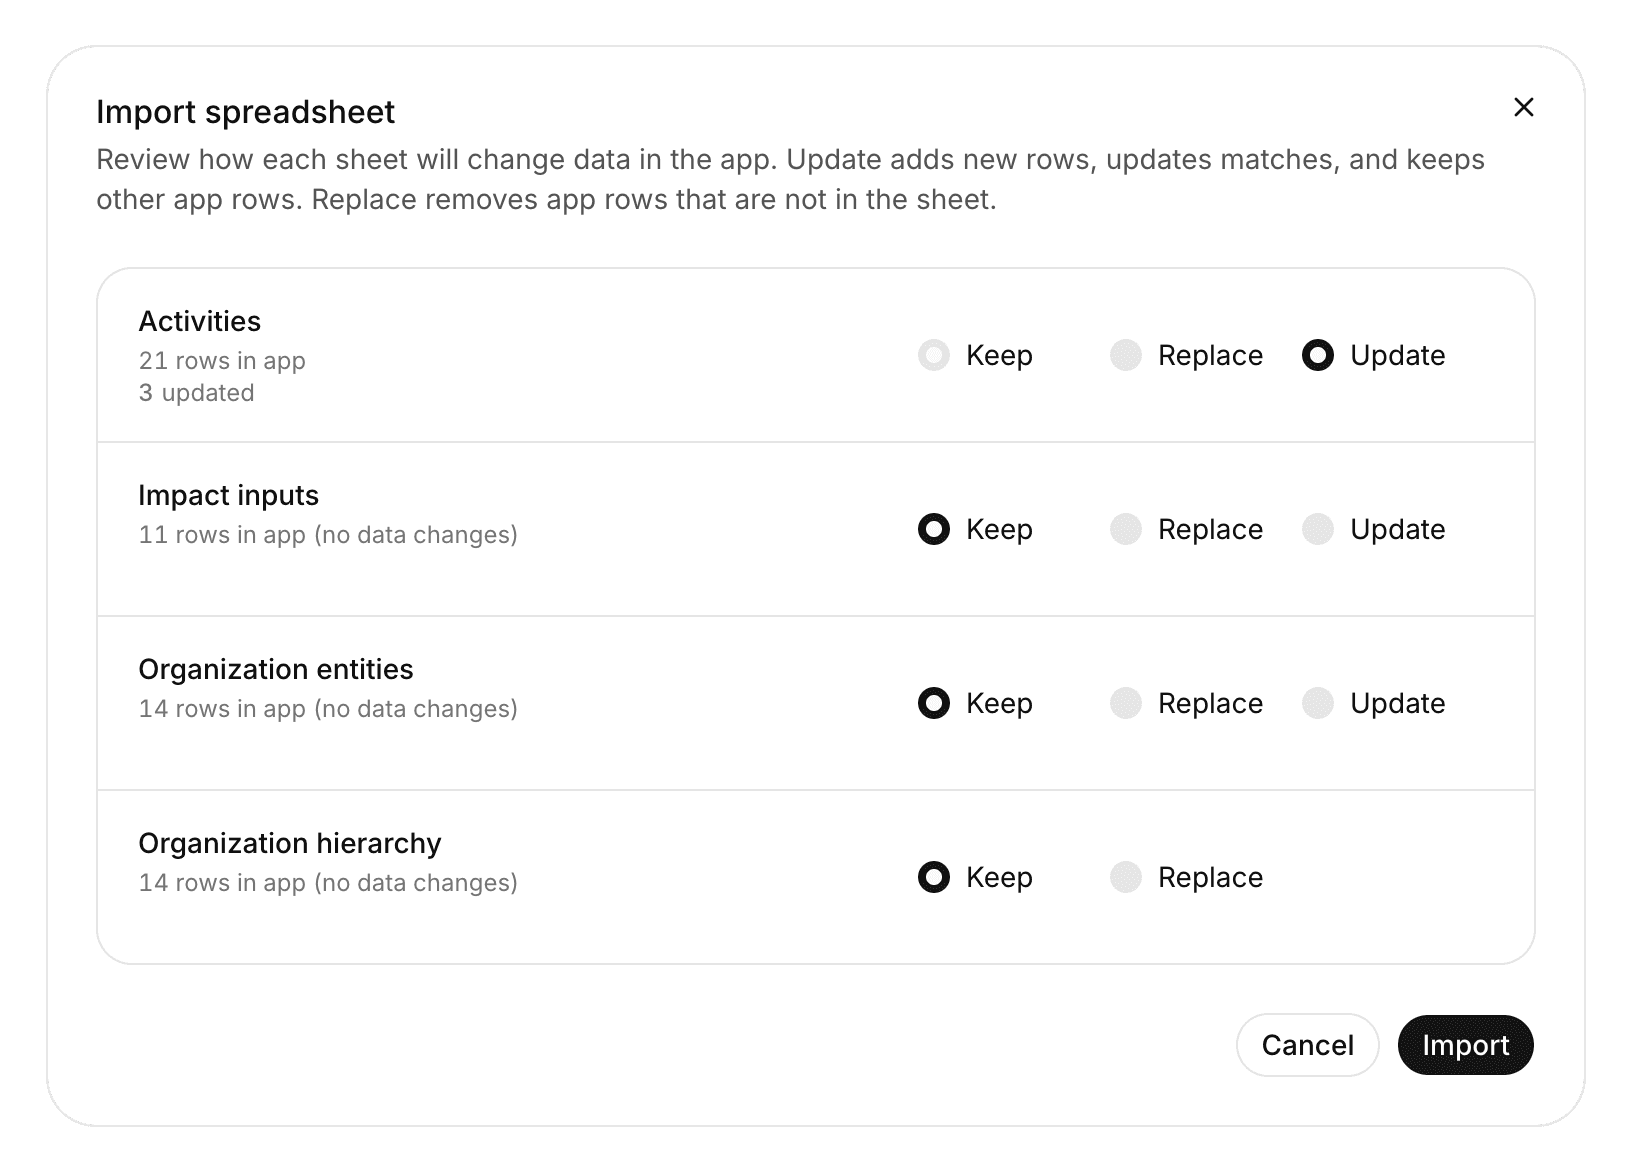
Choose one operation per sheet:
| Operation | What happens |
|---|---|
| Keep | The sheet's data in the app stays as it is. Nios ignores the file's rows for this sheet. Sheets that aren't in the file can only be kept |
| Update | Adds new rows, updates rows that match, and keeps every other row in the app. Not available for Organization hierarchy |
| Replace | Makes the sheet look like the file: matched rows are updated, new rows are added, and rows that aren't in the file are removed |
Nios preselects Keep when the app already has data for a sheet, so an import never overwrites data by accident.
How rows match and what stays:
- Matching rows: Nios matches rows by the hidden Nios ID from an export first, then by name: Activity, entity Name, or Input name. If you rename a row in an exported file, the import updates that row instead of adding a new one.
- Update unavailable: Update needs unique names. When names are missing or duplicated in the file or the app, the info icon next to Update says which.
- Columns left out: Columns that aren't in the file keep their values in the app. The review lists them. Leaving a column out never clears it.
- Conflicts: A conflict disables Import and explains itself in the review. The one you're most likely to see is "A matching row changed in the app after this spreadsheet was exported." Someone edited that row in the app after your export. Export again and redo your edits, or choose Replace.
After the import
The whole import is one step in your history, so one undo reverts it.
Nios checks every imported row and lists problems in the Issues tab. Activities with a base sector are calculated right away, unless an error blocks them. The others wait until you click Match or select a base sector, see Sector matching.
Export
The Export menu in the toolbar downloads an .xlsx workbook.
| Option | Sheets | Columns | Rows |
|---|---|---|---|
| All | Activities, Impact inputs, Organization entities, and Organization hierarchy | Every column in the order of the All view, hidden columns and custom columns included | All |
| One module, for example Activities | That module's sheets | As for All | All |
| Current view | The grid you're looking at | The visible columns, in the view's order | The rows that match the view's filters and your search, in its sort order |
Every export has two hidden columns, Nios ID and Nios row version. They let a later import match your rows and notice edits made in the app in the meantime. Keep them if you plan to import the file again.
See Views and filters for how to shape a view before you export it.
Edit offline and import again
- Click Export, then All
- Edit the workbook: change values, add rows, or add your own columns
- Import the workbook from Add data
- Choose Update for each sheet you edited, and check the counts
- Click Import